Setting-up
This page illustrates how to set-up a project with Godot/Kotlin JVM. Currently, there are three ways to create a new project: directly from the Godot editor, using a custom IntelliJ IDEA plugin or manually.
Setting-up using the Godot editor.
You can simply create a regular new Godot project.
Once done, you can go to Project/Tools/Kotlin/JVM/Generate JVM Project.

The following choice will appear:

After this action, all required files should be generated, and you can safely import your project in your IDE.
Setting-up using IntelliJ IDEA project wizard
This is the recommended solution as it creates the entire project in one action and import it in your IDE. It's done via IntelliJ's project wizard (the user needs to install our IntelliJ IDEA plugin).
Installing IntelliJ IDEA's plugin
To install our plugin to create new projects for Godot/Kotlin JVM, run your local copy of IntelliJ IDEA. When the editor
is running, open the Settings and select the Plugins entry. From this view, select Marketplace on the top-bar.
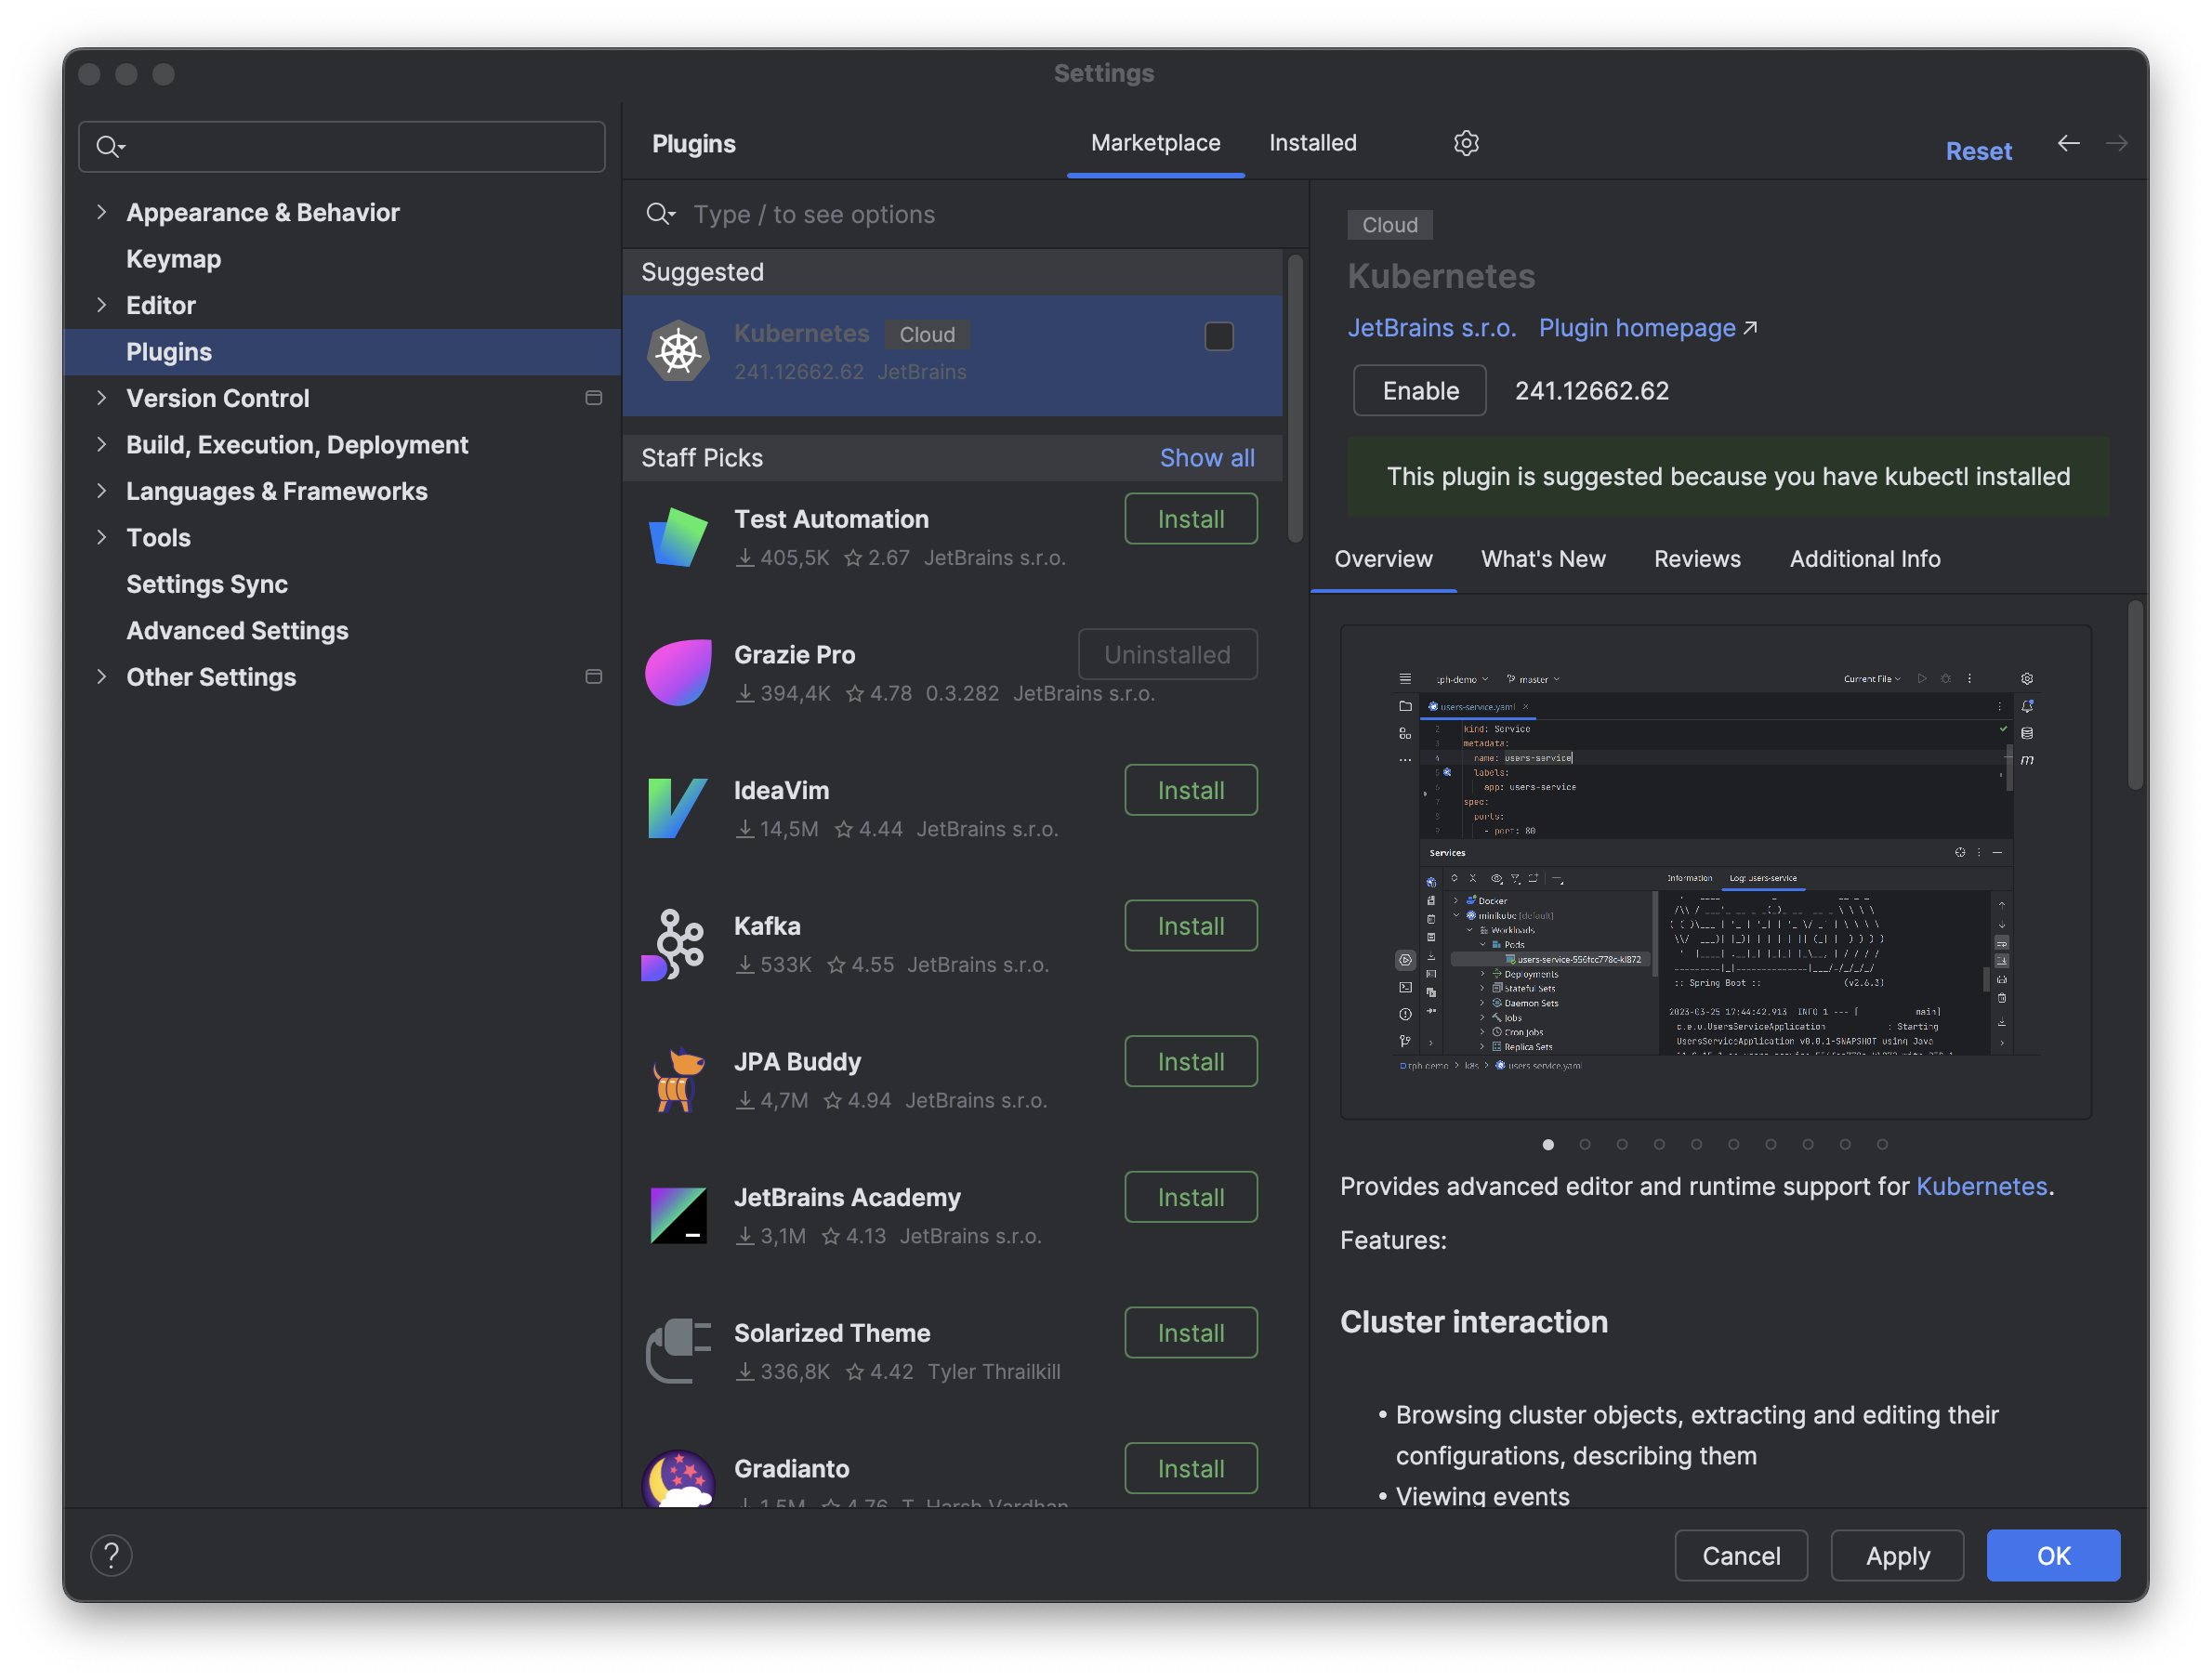
Type godot kotlin into the search bar, and our plugin will be shown as follows.
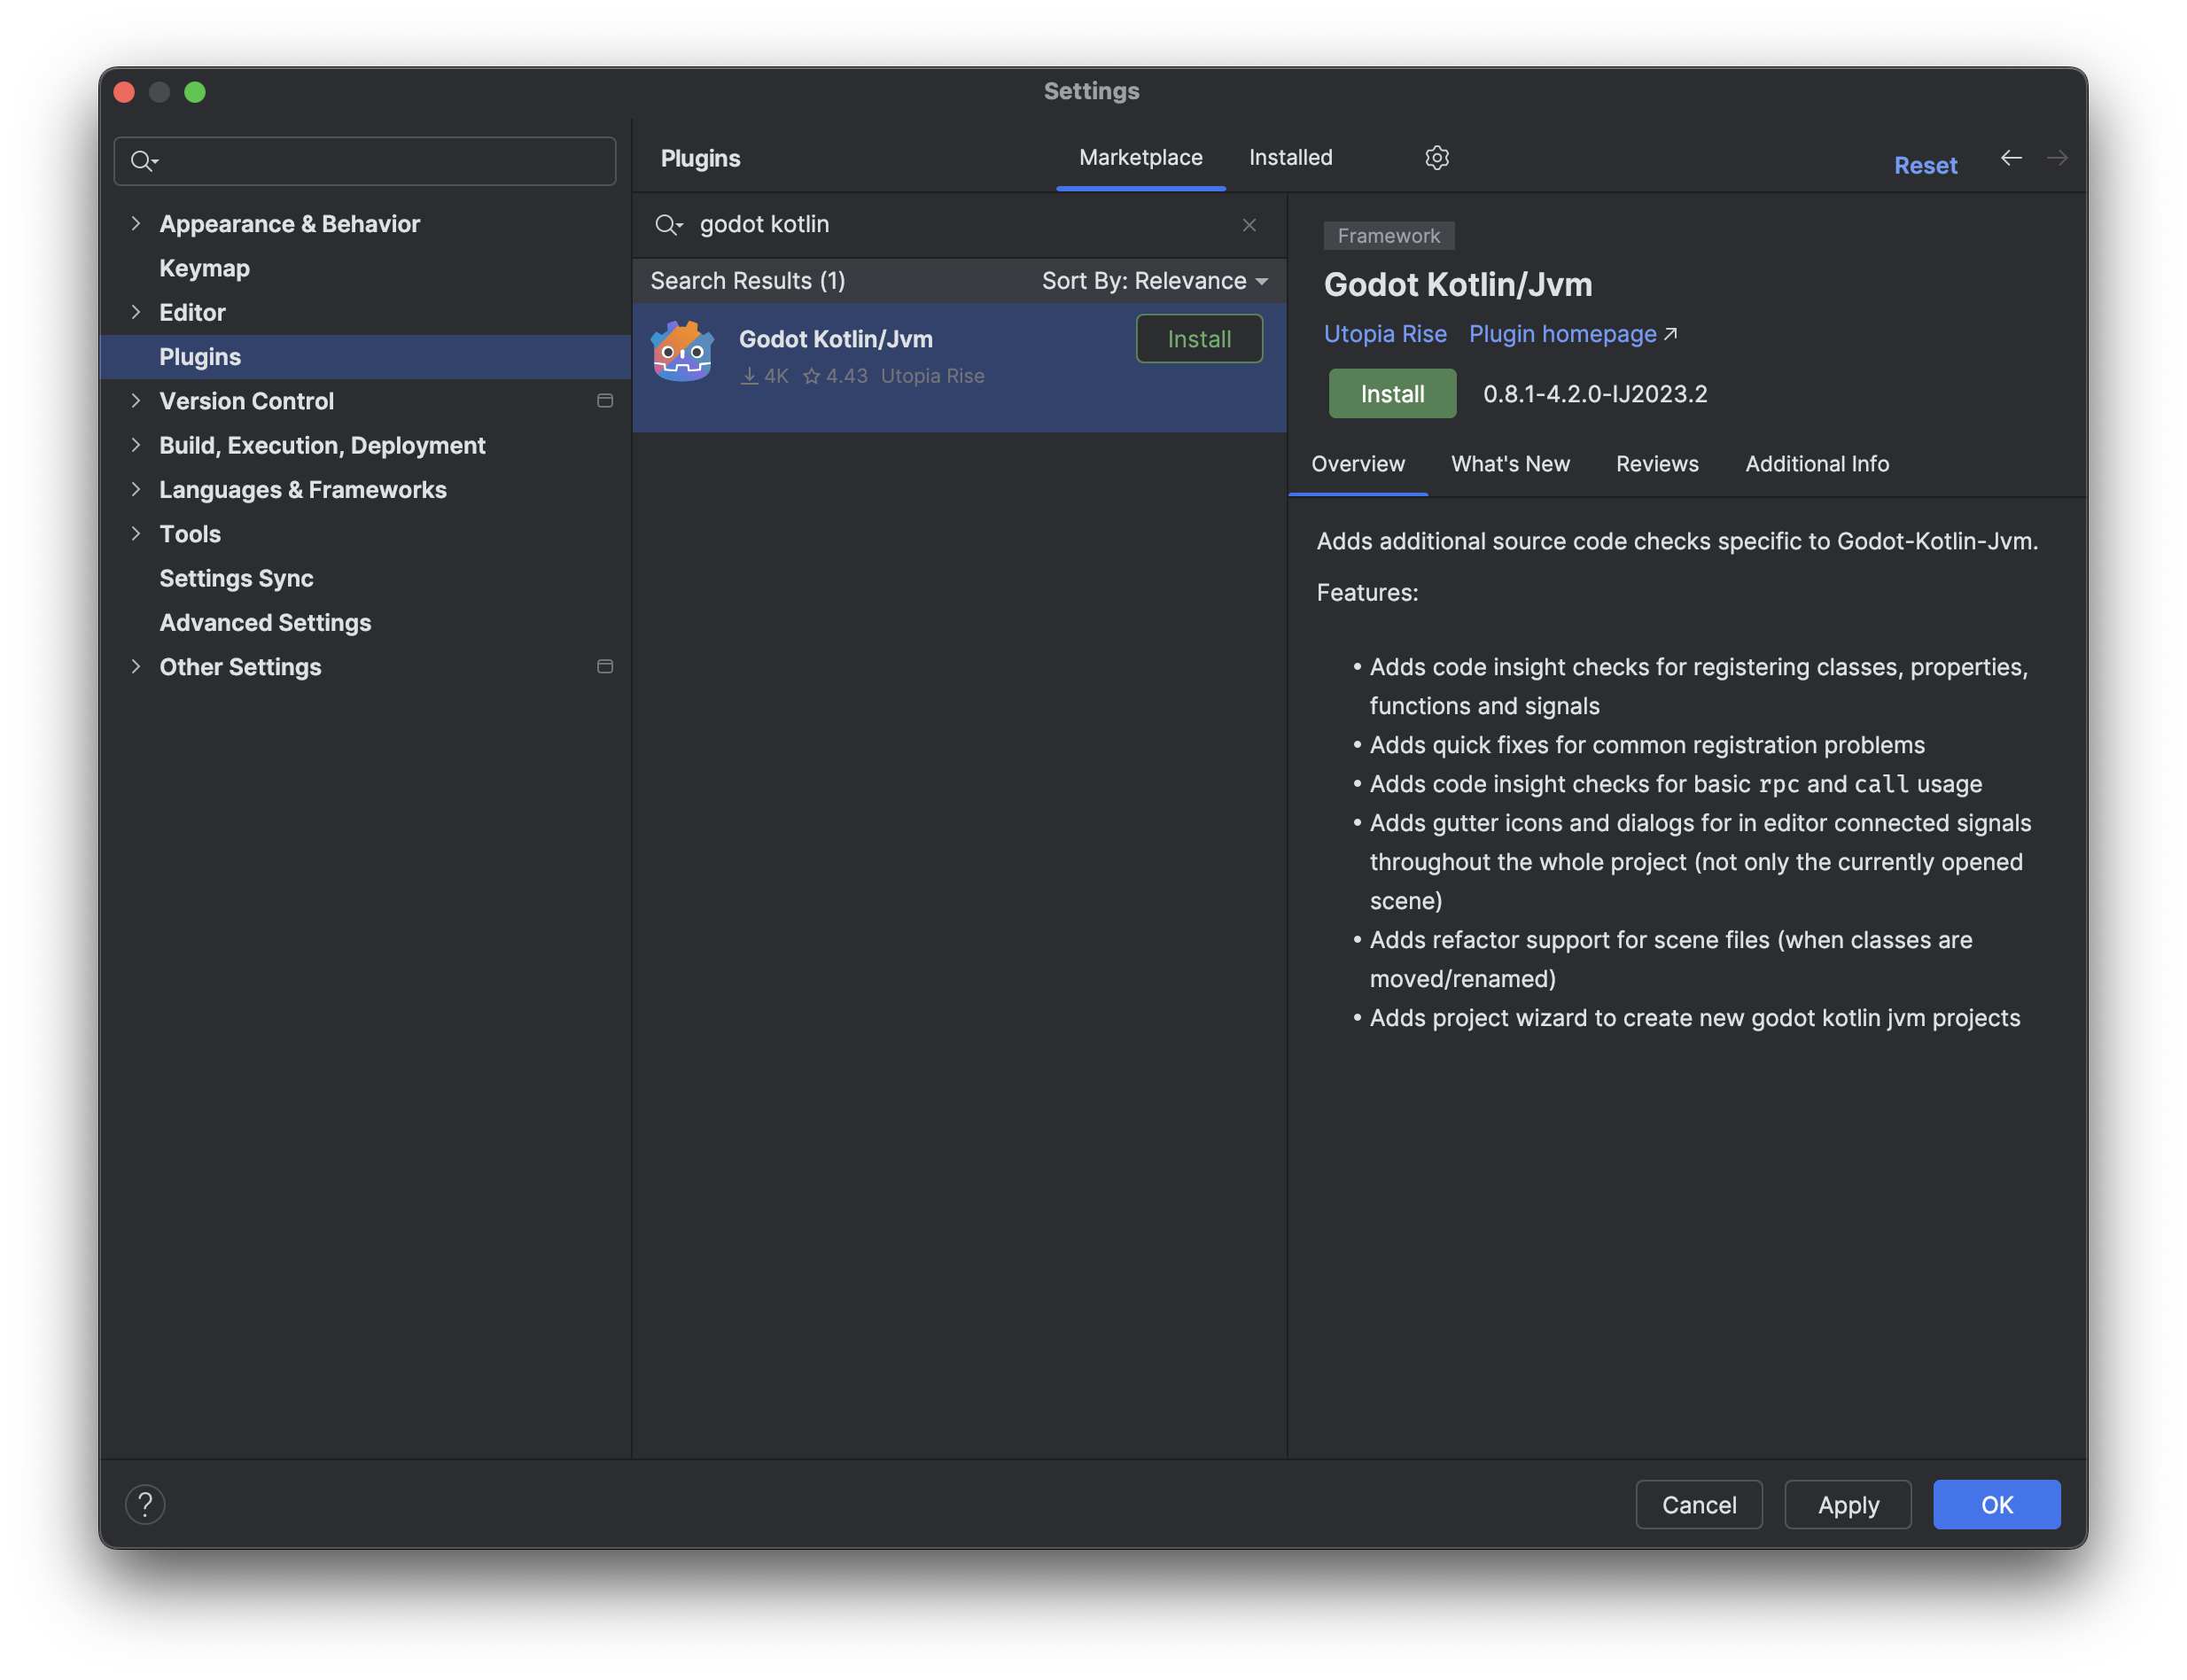
Click the Install button and wait for the IDE to download the plugin. Once the downloading
process is complete, press the OK button on the bottom-right. The IDE will prompt a new
alert dialog, asking the user to restart the program. To enable the plugin a full restart
is required, so please do so.
Creating a new project
To create a new project, please refer to the following instructions:
- Open IntelliJ IDEA
- Create a new project clicking on
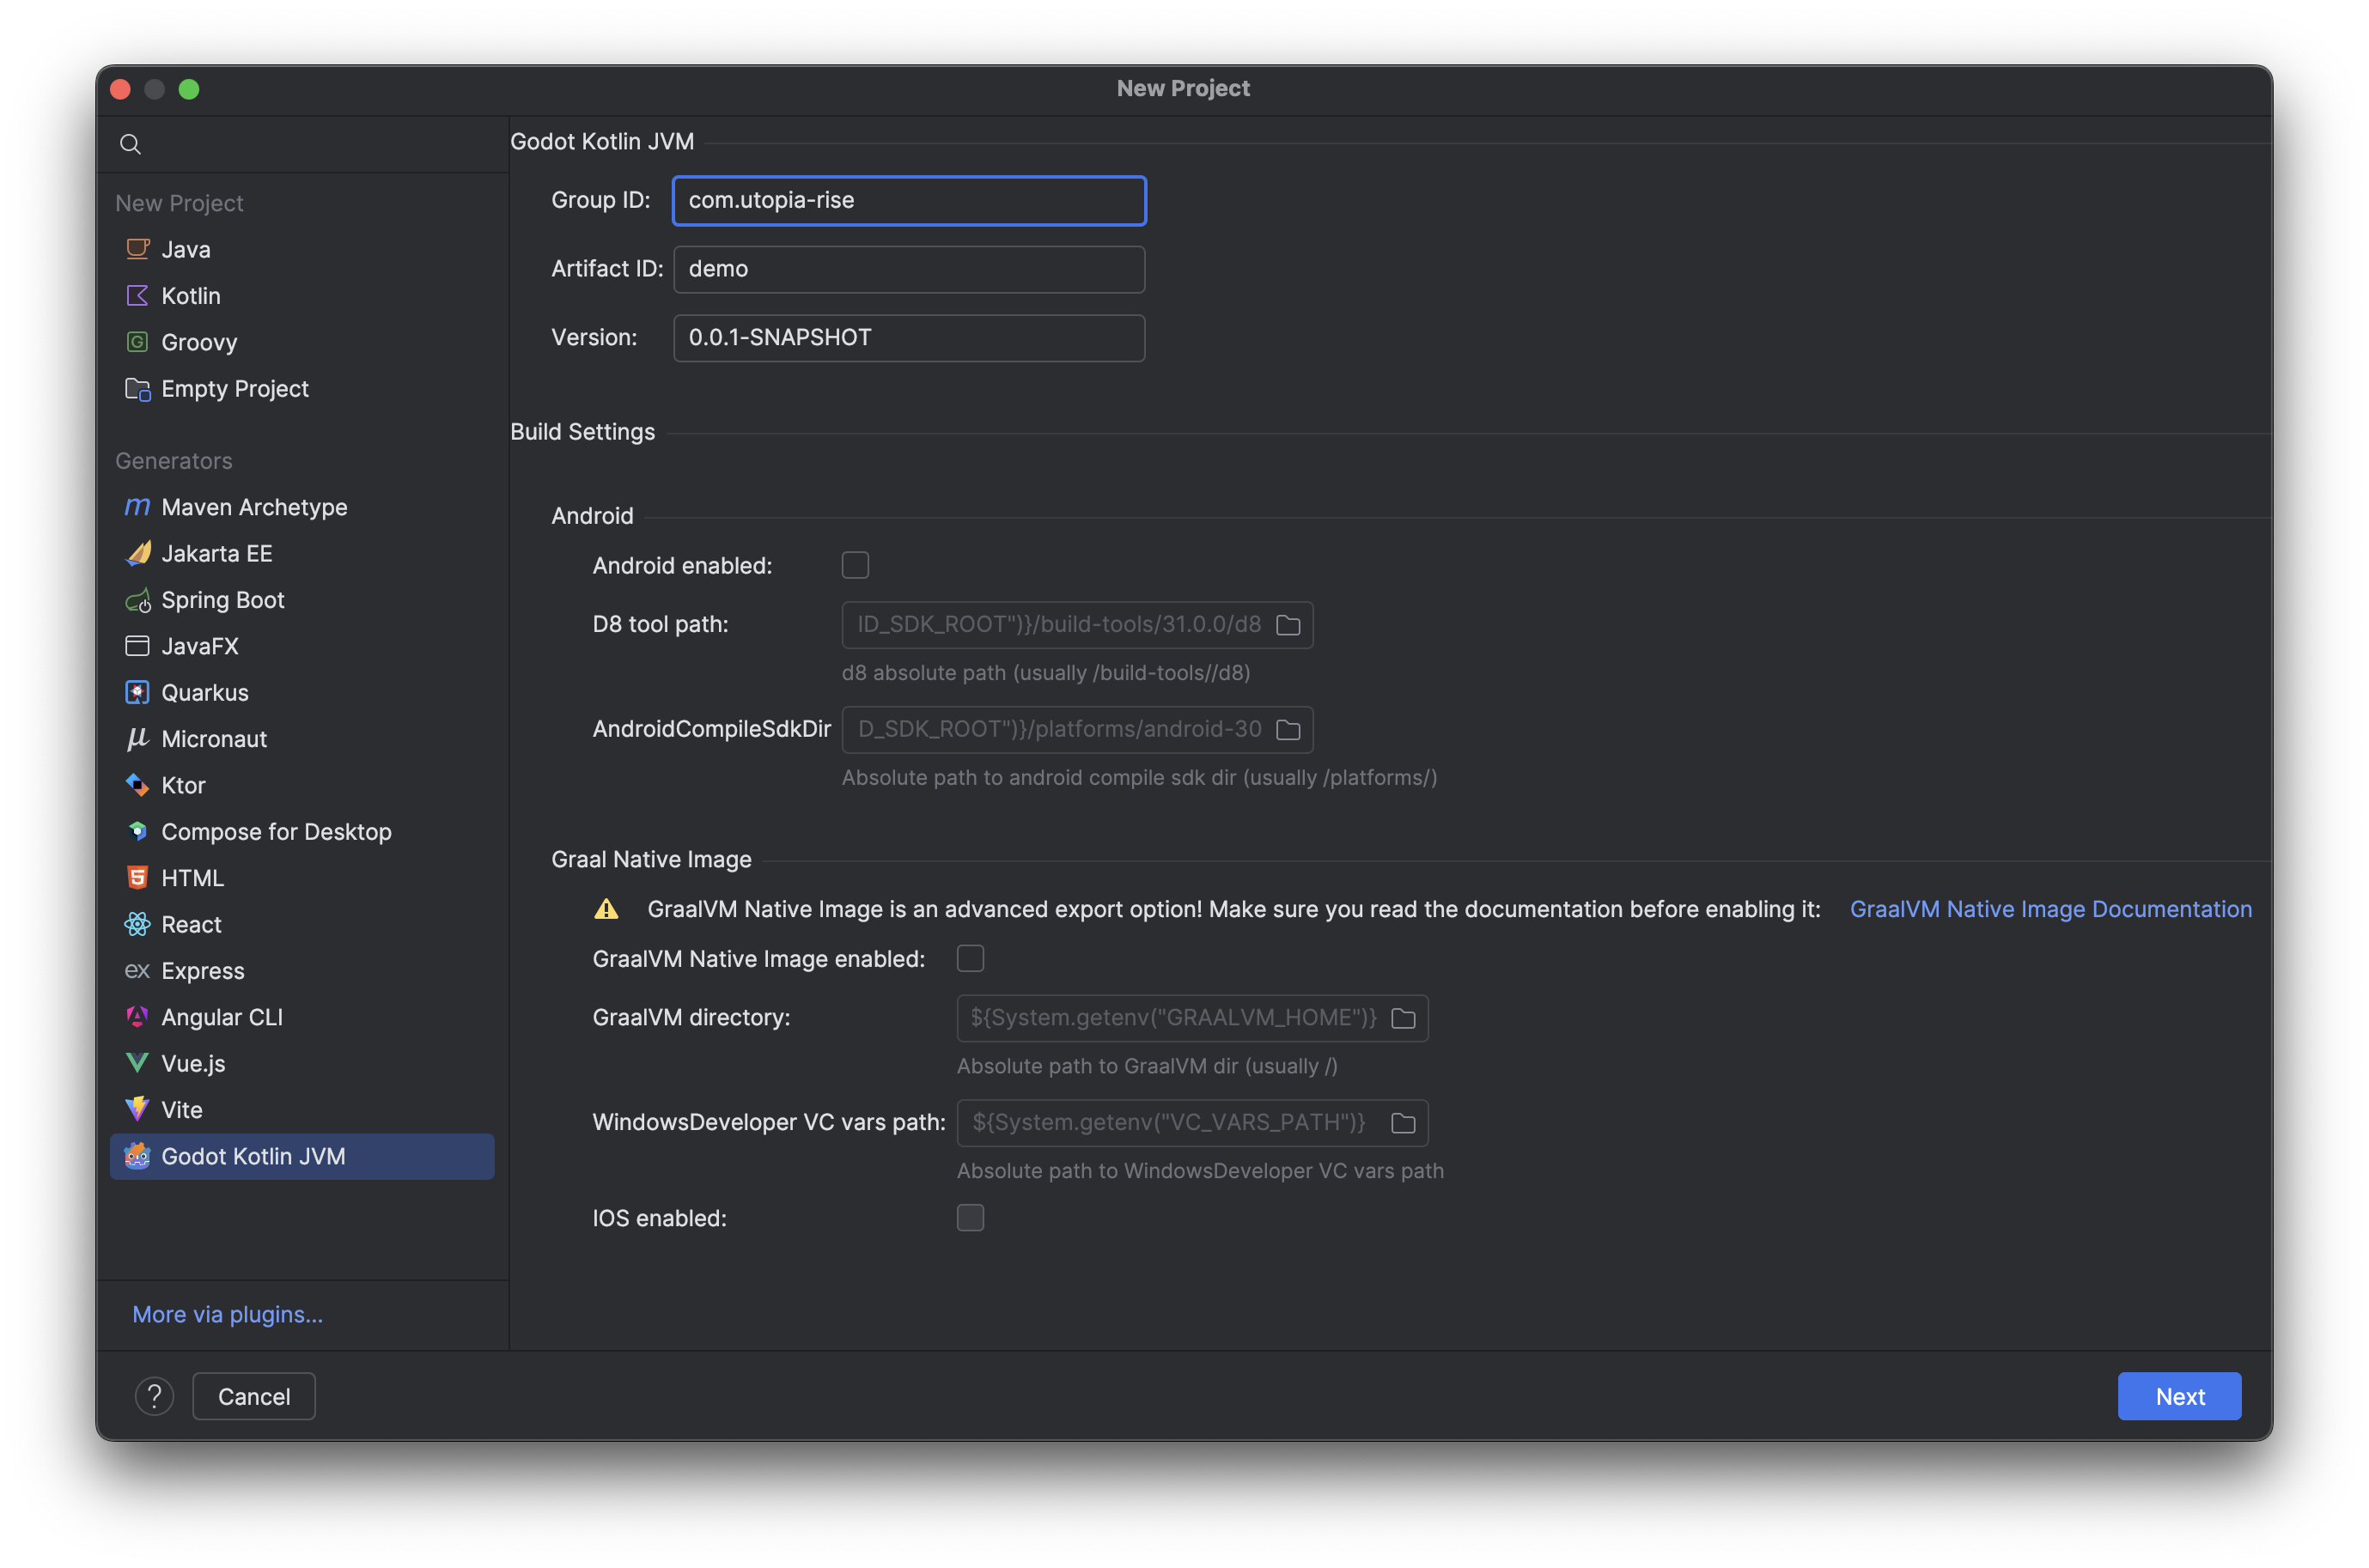
New Project - In the
New Projectwindow, selectGodot Kotlin JVM. - Fill out the package fields as necessary
-
(Optional) Select the builds that your project is interested in, such as Android or iOS.
Default Platforms
If the user does not select any additional platform, the plugin will not add the necessary files for that target. By default, the main plugin target is Desktop.
-
After filling all the necessary fields, click the
Nextbutton. - In the next window, choose the directory where your project will be set up.
-
Click the
Createbutton. The IDE will create several files, including a Gradle build file.
-
IntelliJ IDEA opens up the newly created project and after a while, a toast notification on the right-bottom will appear. To proceed forward, click on
Load Gradle Projectbutton.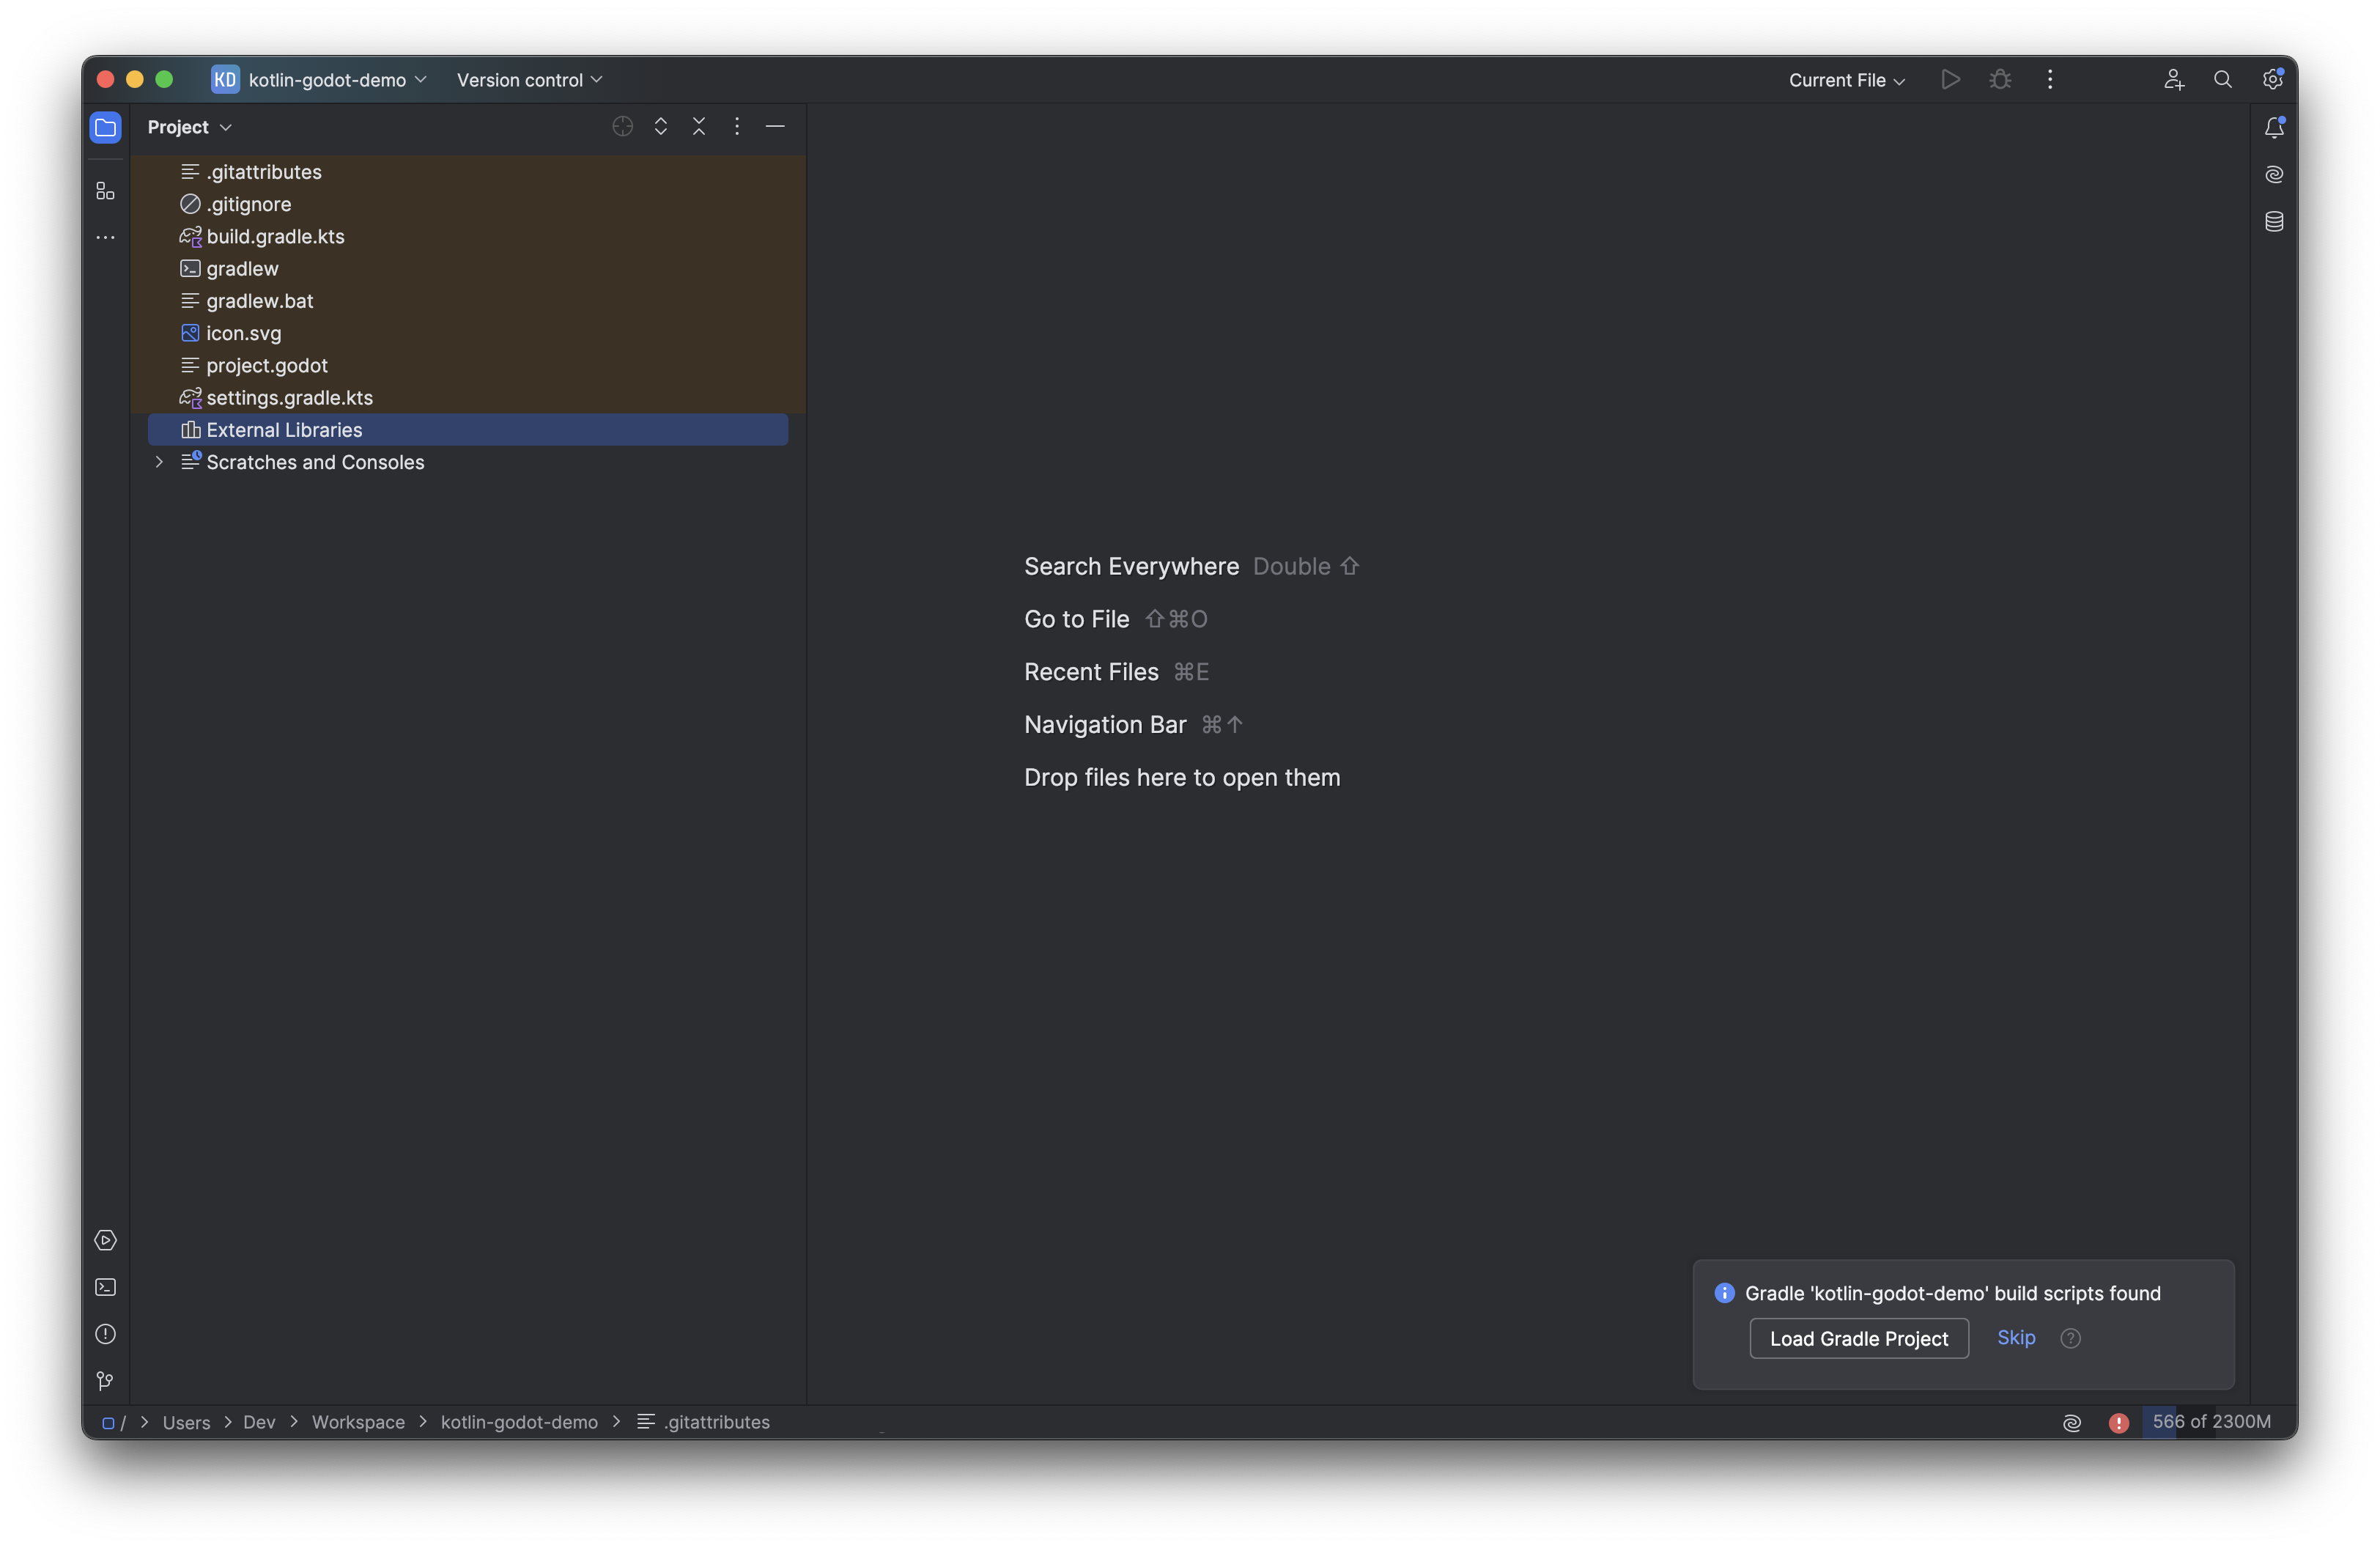
Pressing the button allows the IDE to create source files, where the user can create new scripts.
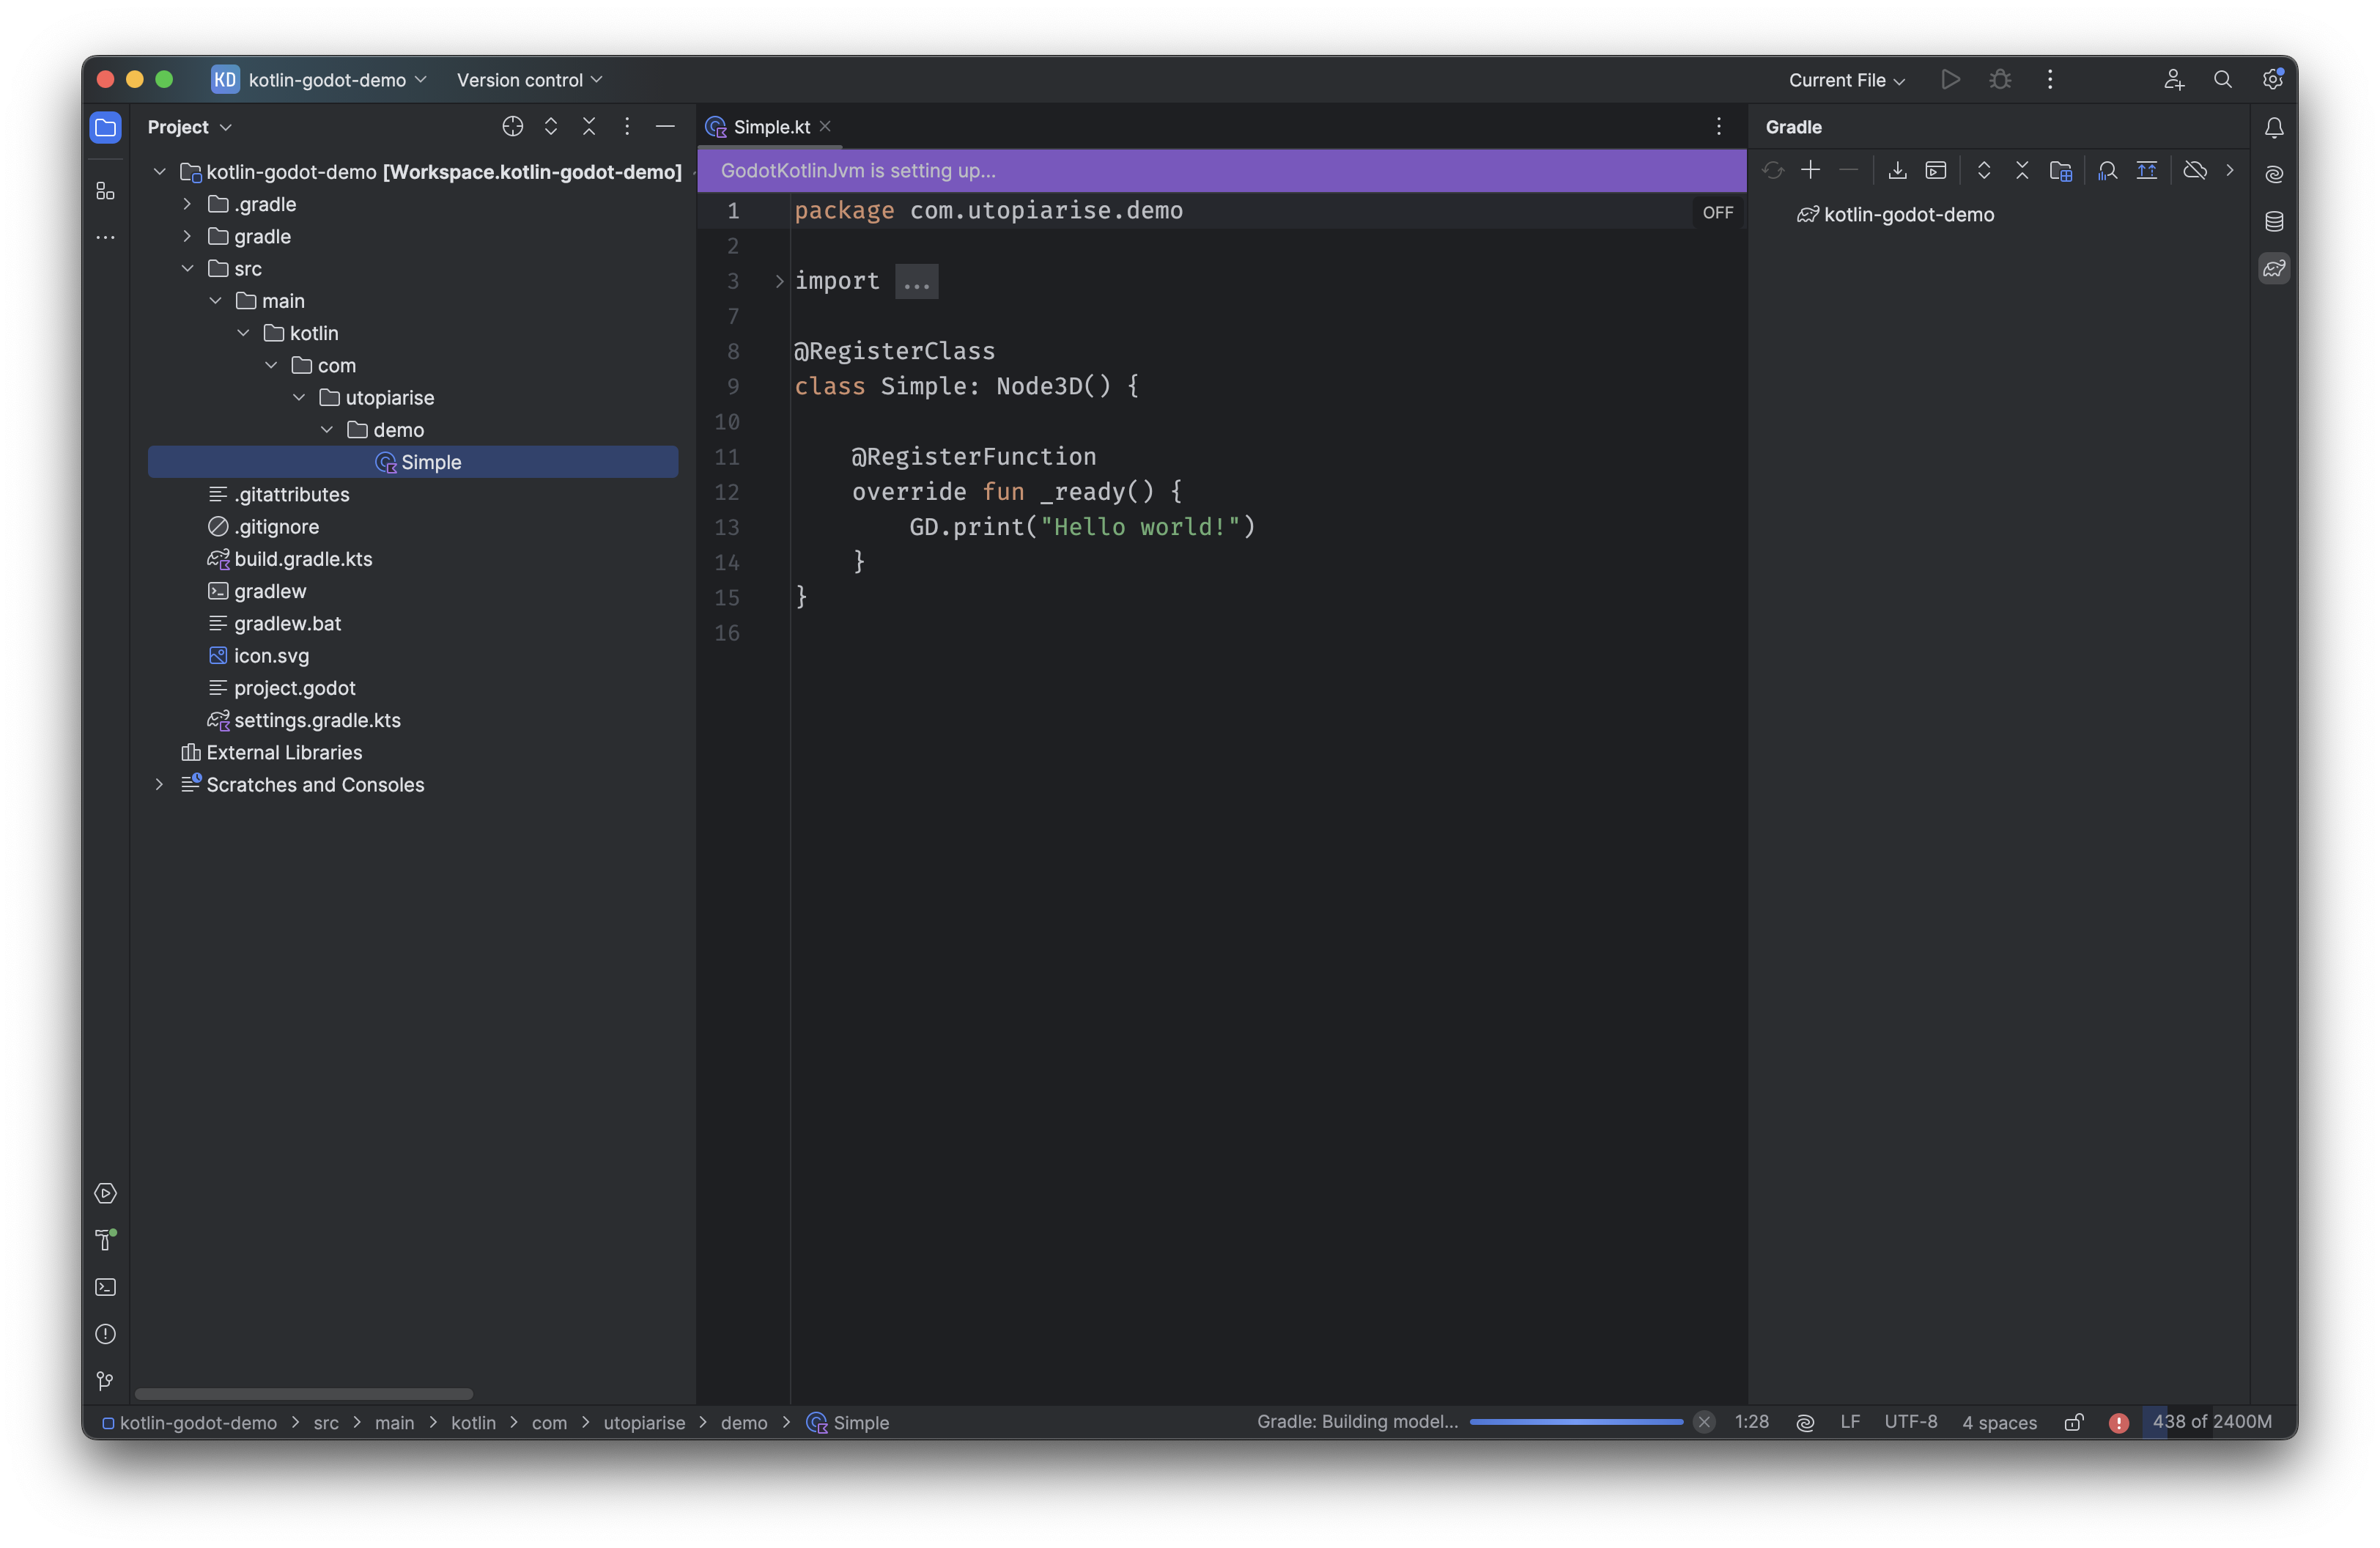
'GodotKotlinJvm is setting up' bar?
Notice that the loading process takes a bit, so, a pop-up bar will appear on top of a file's content. During this process, the IDE is building file inidices and it is linking the required dependencies. The bar will disappear automatically when the process is done.
-
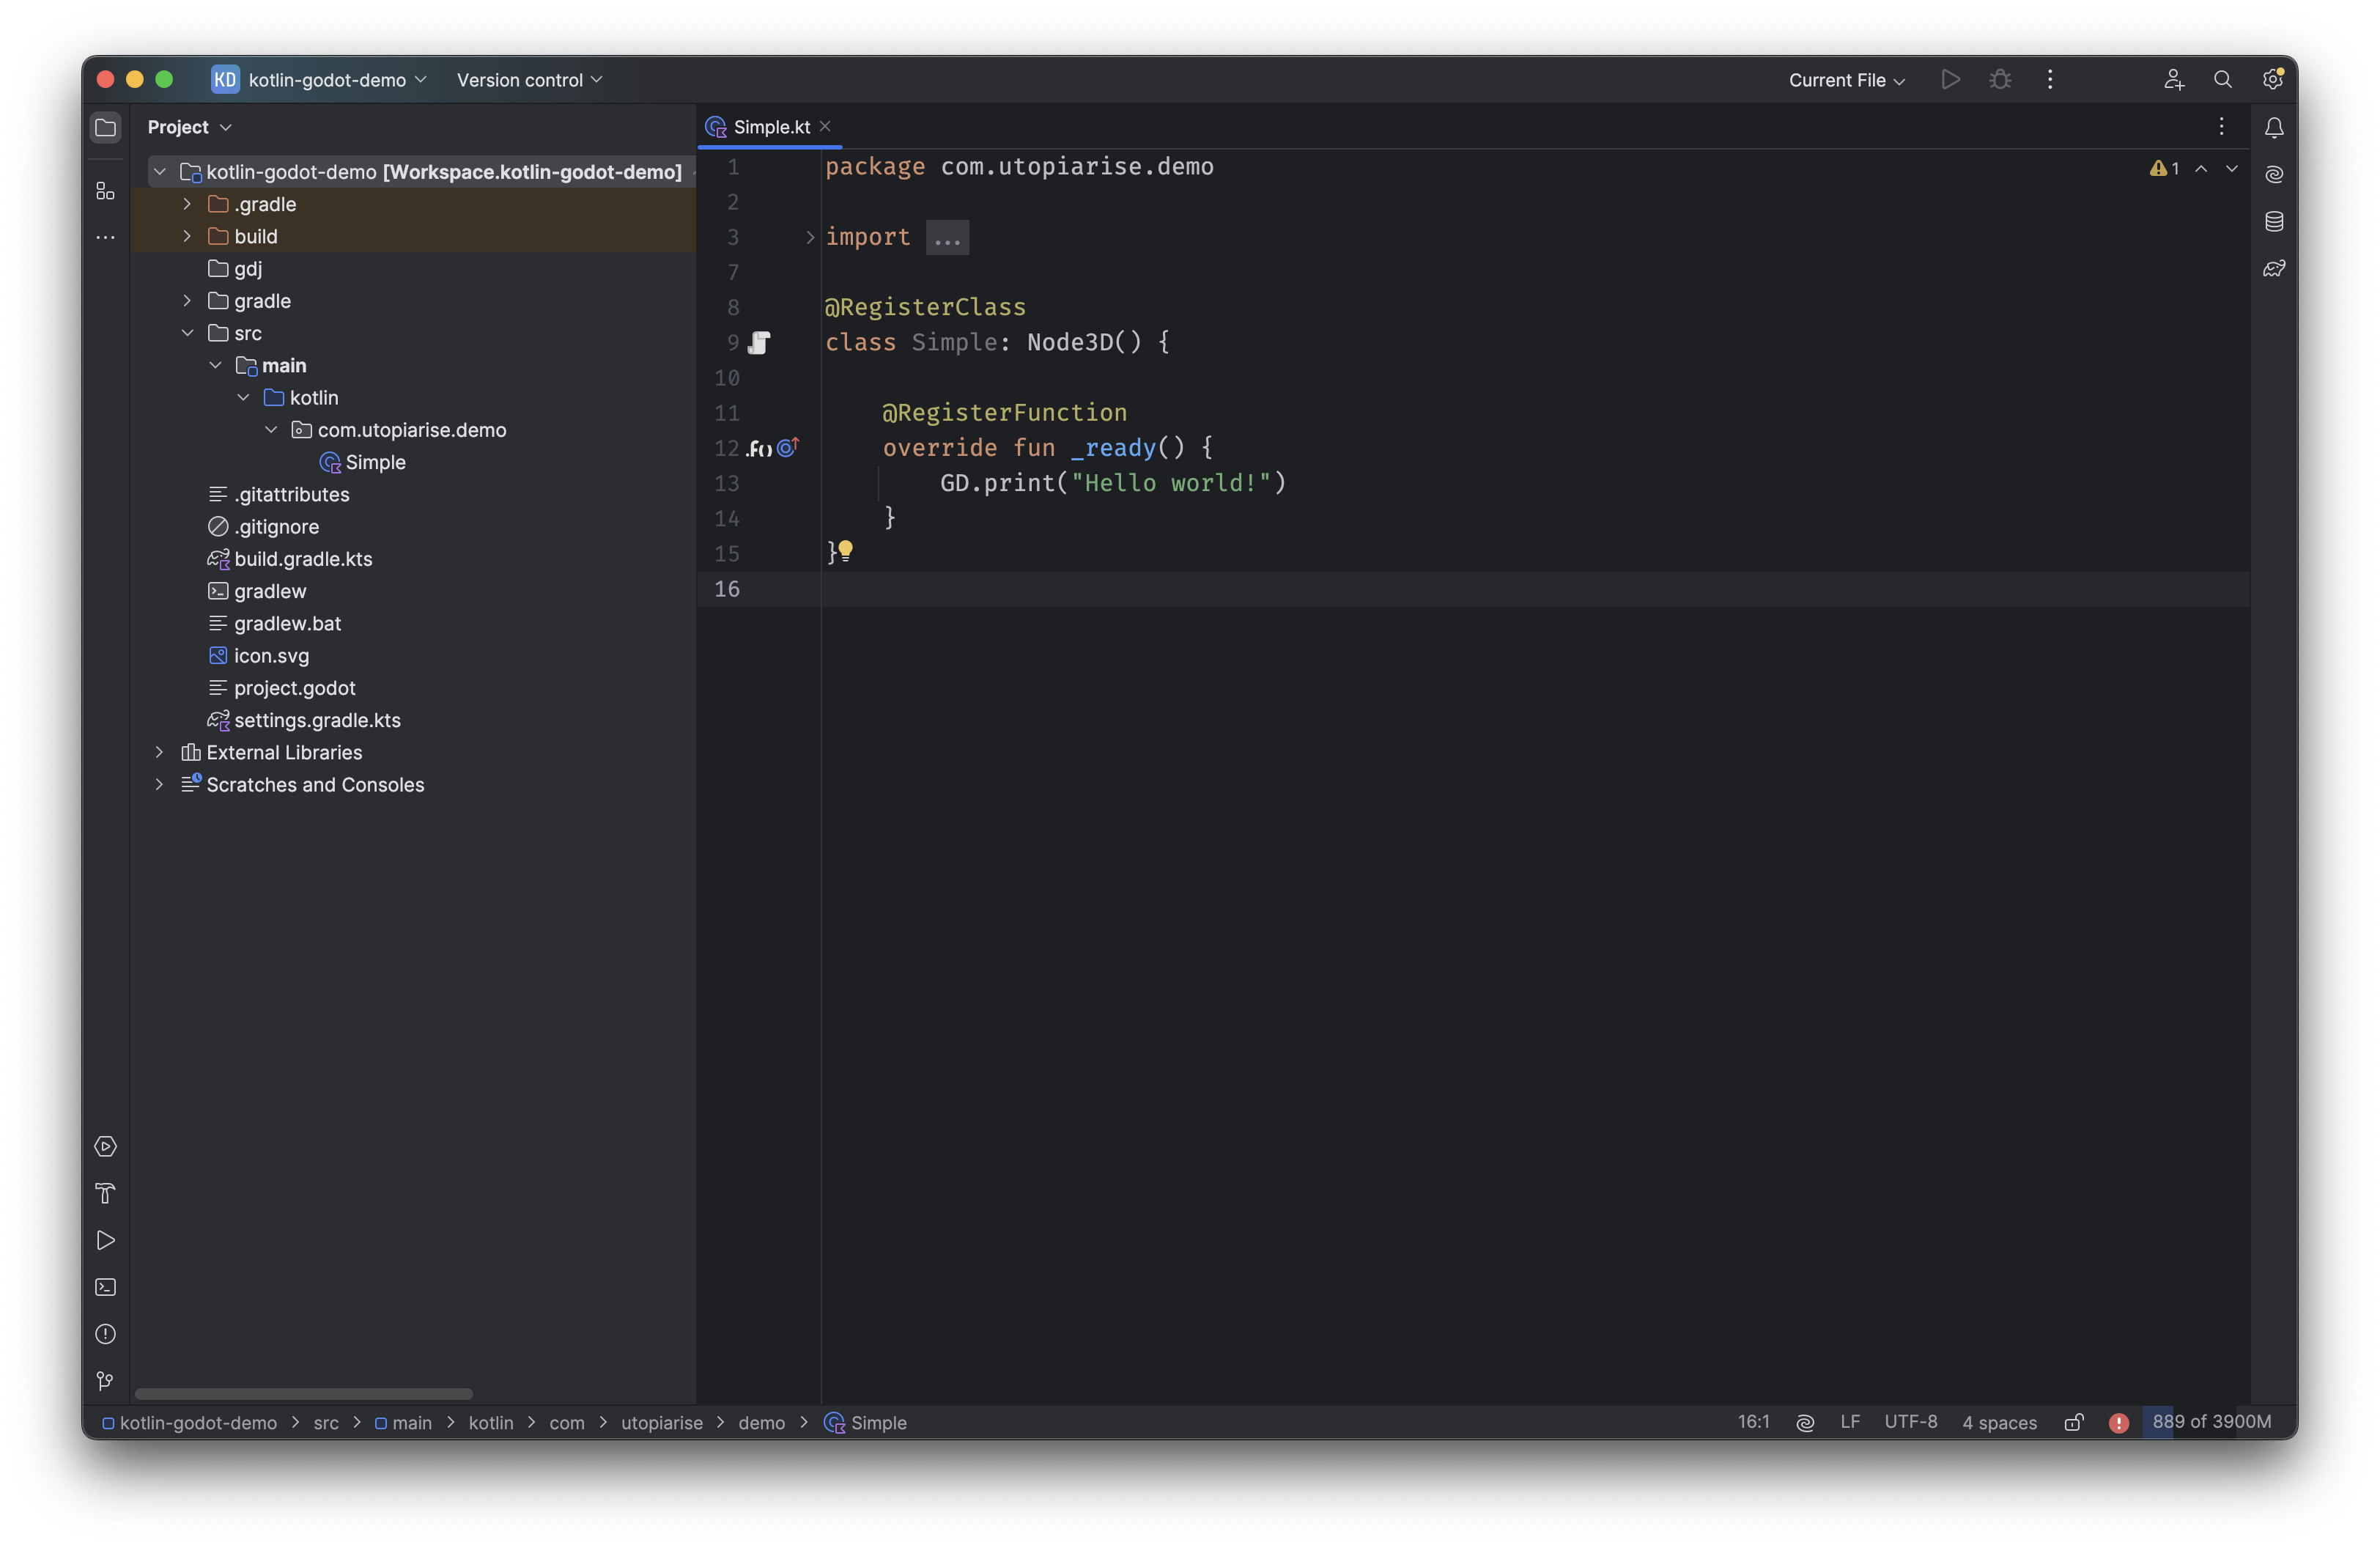
Once the loading is complete, the user will be able to see Kotlin source code with the package name the user inserted during the project's creation. Finally, the game development can start! 🚀
Setting up manually
If the user does not want to use our IntelliJ IDEA plugin, then they can follow these steps to setup a project.
Note
The following steps requires Gradle to be installed, checkout their website for installation instructions.
Firstly, you need to setup a Gradle wrapper. The wrapper will ensure that anyone who wants to build your project from source will use the same Gradle version.
1 2 3 | |
1 | |
The above command(s) will create three empty files. As next step, type the following command on the terminal:
1 | |
After running the above command, the user should have the wrapper setup ready to be used.
Up next is setting-up the Gradle build. Now, open the build.gradle.kts file
and paste the following content:
1 2 3 4 5 6 7 8 | |
Note
Please replace $kotlinVersion and $godotkotlinVersion to the appropriate version you want to use.
The snippet above uses our Gradle plugin. Without the plugin, the user has to manually define all needed dependencies, manually register the classes, signals, properties, functions and manually create and copy the needed JAR's to the appropriate locations.
Examples
If you want to examples of what a JVM Godot project looks like, you can check the following repositories: